
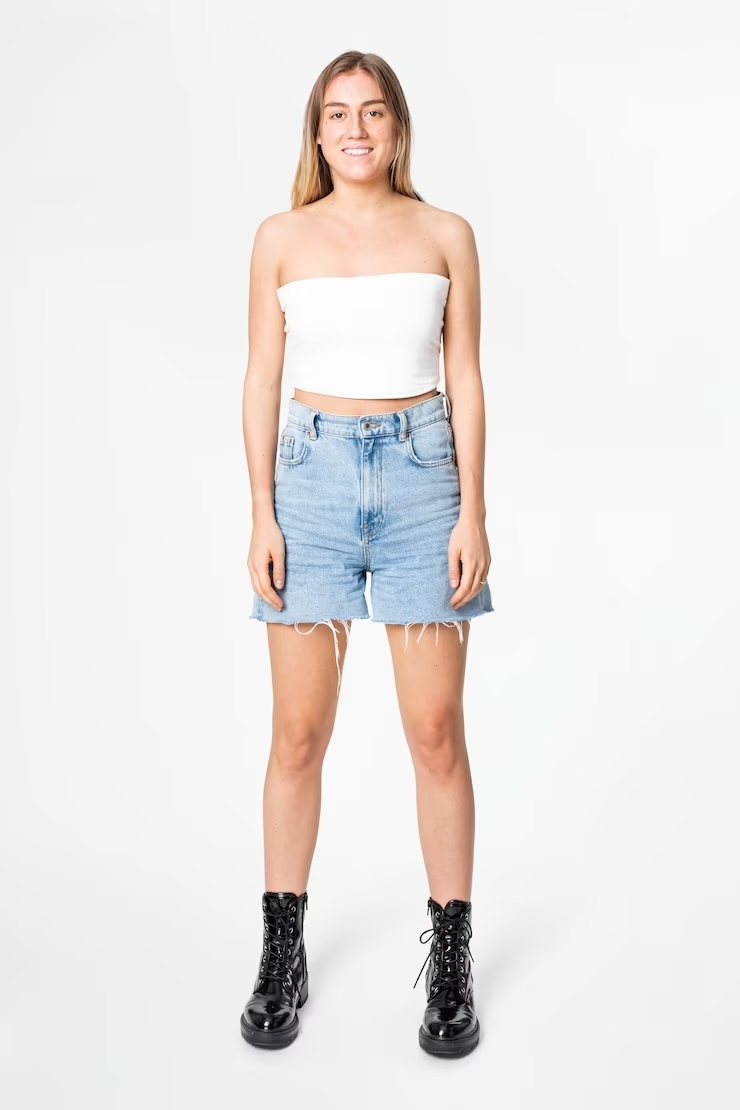
Fashion is more than just clothes – it’s a canvas for self-expression. If you’re looking to infuse your style with a touch of individuality, DIY projects are a fantastic way to achieve that. Distressed high-waisted shorts have become a staple in street fashion, exuding an effortlessly edgy vibe. In this article, we’ll guide you through the steps of creating your very own DIY distressed high-waisted shorts, allowing you to unleash your creative flair and transform a pair of ordinary shorts into a fashion statement.
Materials You’ll Need
Before embarking on your creative journey, gather the following materials:
- A pair of high-waisted shorts (old or new)
- Sandpaper or a cheese grater
- Scissors
- Tweezers
- Chalk or fabric marker
- Optional: bleach, fabric dye, studs, patches
Steps to Create DIY Distressed High-Waisted Shorts
1. Choose Your Shorts
Select a pair of high-waisted shorts as your canvas. Whether you’re revamping an old favorite or starting with a new pair, make sure they fit comfortably and flatter your body shape.
2. Plan Your Design
Use chalk or a fabric marker to outline the areas where you want distressing. Common spots include the front thighs, back pockets, and edges of the shorts.
3. Distressing Techniques
There are various techniques you can use to distress your shorts:
- Sandpaper or Cheese Grater: Rub sandpaper or a cheese grater over the marked areas to create natural-looking wear and tear.
- Scissor Cuts: Make small cuts with scissors along the edges you’ve marked. You can pull at the threads to achieve a frayed look.
- Bleach or Dye: For a more dramatic effect, use bleach or fabric dye to lighten or color specific areas.
4. Tweeze the Threads
Use tweezers to gently pull out vertical threads from the distressed areas. This replicates the look of frayed denim commonly found in distressed clothing.
5. Wash and Dry
After distressing, wash the shorts to soften the edges of the distressing and give them a more natural appearance. Follow the care instructions on the shorts’ label.
6. Optional Enhancements
If you want to add extra flair, consider these enhancements:
- Studs: Attach studs along the pockets, waistband, or seams for a punk-inspired touch.
- Patches: Sew or iron on patches to add color and character to your shorts.
7. Style and Rock Your Creation
Once your DIY distressed high-waisted shorts are complete, it’s time to showcase your unique style. Pair them with a graphic tee, a cropped top, or a flowy blouse. Experiment with different accessories and footwear to create diverse looks that reflect your personality.
In Conclusion
DIY distressed high-waisted shorts offer a fun and creative way to revamp your wardrobe. With a bit of imagination and a handful of tools, you can transform ordinary shorts into fashion-forward pieces that are as unique as you are. Embrace the joy of self-expression and create stylish outfits that truly stand out. So, gather your materials, unleash your creativity, and get ready to rock your one-of-a-kind distressed high-waisted shorts with confidence and flair.