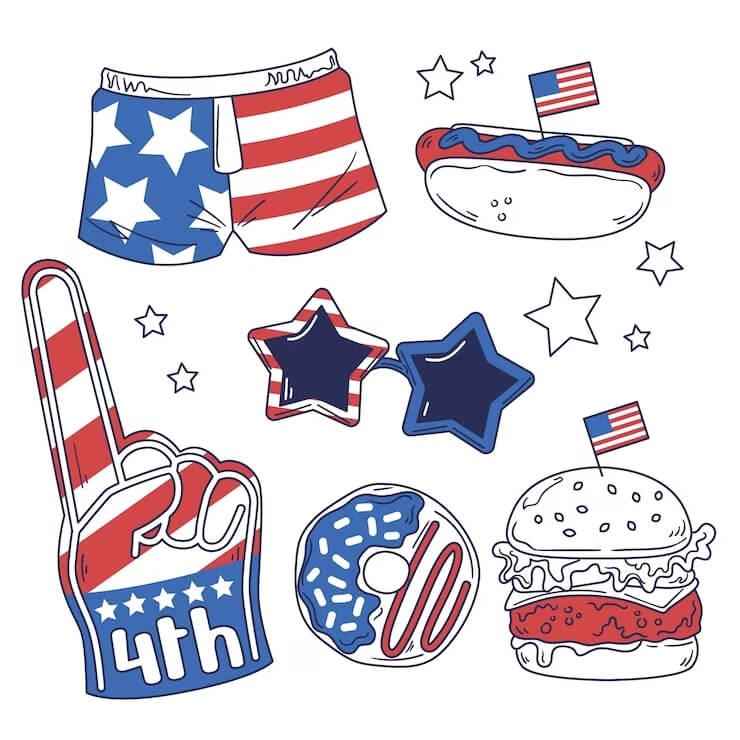
Showcasing your patriotism doesn’t have to be limited to waving flags or donning red, white, and blue attire. With a little creativity and some crafting magic, you can wear your love for the USA on your sleeve, or in this case, on your shorts. In this article, we’ll guide you through the process of creating your very own DIY American flag shorts – a perfect way to celebrate national holidays, events, or simply to exhibit your pride in a stylish and unique manner.
Materials You’ll Need
Before you begin, gather the following materials:
- Denim shorts
- Red and white fabric paint or fabric markers
- Blue fabric paint or fabric marker
- Star-shaped stencils or stamps
- Painter’s tape
- Cardboard or plastic sheet (to protect surfaces)
- Paintbrushes or applicator sponges
- Old newspapers or scrap fabric (to prevent paint from bleeding)
Steps to Create DIY American Flag Shorts
1. Prepare Your Workspace
Lay out old newspapers or scrap fabric to protect your work surface from paint spills. Place a cardboard or plastic sheet inside the shorts to prevent the paint from bleeding through to the other side.
2. Create the Red and White Stripes
Start by creating the red and white stripes of the American flag. Use painter’s tape to mask off sections where you want the white stripes to appear. Apply red fabric paint or marker to the exposed areas, leaving gaps for the white stripes. Once the red paint dries, remove the tape and repeat the process for the white stripes.
3. Add the Union (Blue Field)
For the blue field, tape off the top left corner of the shorts where the blue square (union) will be. Use blue fabric paint or marker to fill in this section. Allow the paint to dry before moving on to the next step.
4. Incorporate the Stars
To add the stars, you have a few options. You can use star-shaped stencils or stamps to apply white paint over the blue field. Alternatively, you can hand-paint the stars using a small brush or an applicator sponge. Space the stars evenly to replicate the American flag’s arrangement.
5. Finishing Touches
After the paint has dried completely, gently iron the painted areas (with a cloth between the iron and the fabric) to set the paint and make it more permanent. This step may vary depending on the type of paint or marker you use, so follow the instructions on the product’s packaging.
6. Wear and Flaunt
With the paint set and your DIY American flag shorts complete, you’re ready to wear your patriotic creation. Pair the shorts with a simple white tee, sneakers, and accessories that complement the red, white, and blue theme. Your custom-made American flag shorts are a unique way to celebrate special occasions or showcase your love for the United States.
In Conclusion
Creating DIY American flag shorts is not only a fun and engaging craft project, but also a meaningful way to express your patriotism. By customizing your shorts with the iconic stars and stripes, you’re turning a simple piece of denim into a wearable symbol of pride. Whether you’re celebrating Independence Day, Memorial Day, or just want to infuse your wardrobe with a touch of patriotism, these shorts will make a statement that’s uniquely yours. So gather your materials, embrace your creative spirit, and get ready to wear your love for the USA with style and flair.

