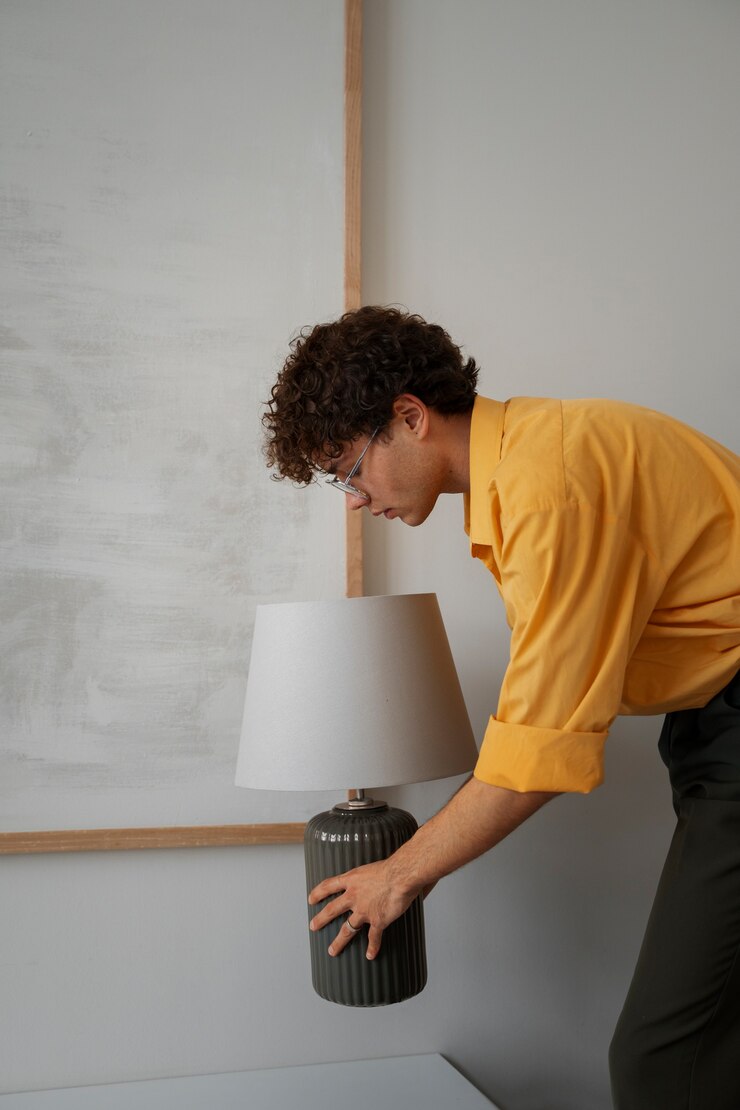
Have you ever looked around your living space and felt that it needed a fresh touch of color and style? If so, a DIY spray paint lamp makeover might be just the project you’re looking for. With a few simple steps and a can of spray paint, you can transform a tired and ordinary lamp into a vibrant and eye-catching piece that elevates your decor. In this article, we’ll guide you through the process of giving your lamp a second life with a splash of color and creativity.
Materials You’ll Need
Before you begin, gather these materials:
- Lamp (table or floor)
- Sandpaper or sanding block
- Drop cloth or newspapers
- Painter’s tape
- Primer spray paint (if needed)
- Spray paint in your chosen color
- Clear protective spray sealer
Steps to Create Your Spray Paint Lamp Makeover
1. Prepare Your Lamp
Start by cleaning the lamp thoroughly to remove any dust or dirt. If your lamp has an existing finish that is glossy or uneven, use sandpaper or a sanding block to lightly roughen the surface. This will help the spray paint adhere better.
2. Protect Surrounding Areas
Place a drop cloth or newspapers on your work surface to protect it from overspray. Use painter’s tape to cover any parts of the lamp that you don’t want to be painted, such as the lampshade or electrical components.
3. Apply Primer (if Needed)
If your lamp has a dark or glossy finish, consider applying a primer spray paint. This will create a smooth and even base for the color you choose. Follow the instructions on the primer spray paint can and allow it to dry thoroughly.
4. Spray Paint Your Lamp
Hold the spray paint can about 8-10 inches away from the lamp’s surface. Begin spraying in a sweeping motion, moving the can consistently to achieve even coverage. Apply thin coats to prevent drips or runs. Allow each coat to dry before applying the next one. Depending on the color and desired coverage, you might need 2-3 coats.
5. Let the Paint Cure
Once you’re satisfied with the color and coverage, let the lamp dry for the recommended time on the spray paint can. This will ensure that the paint fully cures and adheres well.
6. Apply Clear Protective Sealer
To protect the newly painted surface, apply a clear protective spray sealer. This will help prevent chipping and fading over time. Follow the instructions on the sealer can and allow it to dry completely.
7. Reassemble and Enjoy
After the sealer has dried, remove the painter’s tape and any protective coverings. Reassemble your lamp if you had taken it apart. Place your newly transformed lamp in its designated spot and bask in the vibrant new look you’ve created.
In Conclusion
A DIY spray paint lamp makeover is a fantastic way to breathe new life into your space without breaking the bank. With a little creativity and a can of spray paint, you can turn an ordinary lamp into a statement piece that adds personality and style to your decor. Whether you choose a bold and vibrant color or a subtle and sophisticated hue, this project allows you to showcase your creativity and transform your living space with a simple yet impactful change.

